Member management

Member management

Other people of the same company can be invited to become FMI account members. A member with an admin role will be able to add or remove other members. The Members Management page can be accessed from the Settings page.


Add a member

A new member can be added by admin holders. To do so, from the Members Management page, click on the New Member button.


Fill in the required information for the new member and select their roles before clicking on the Save button to finish.


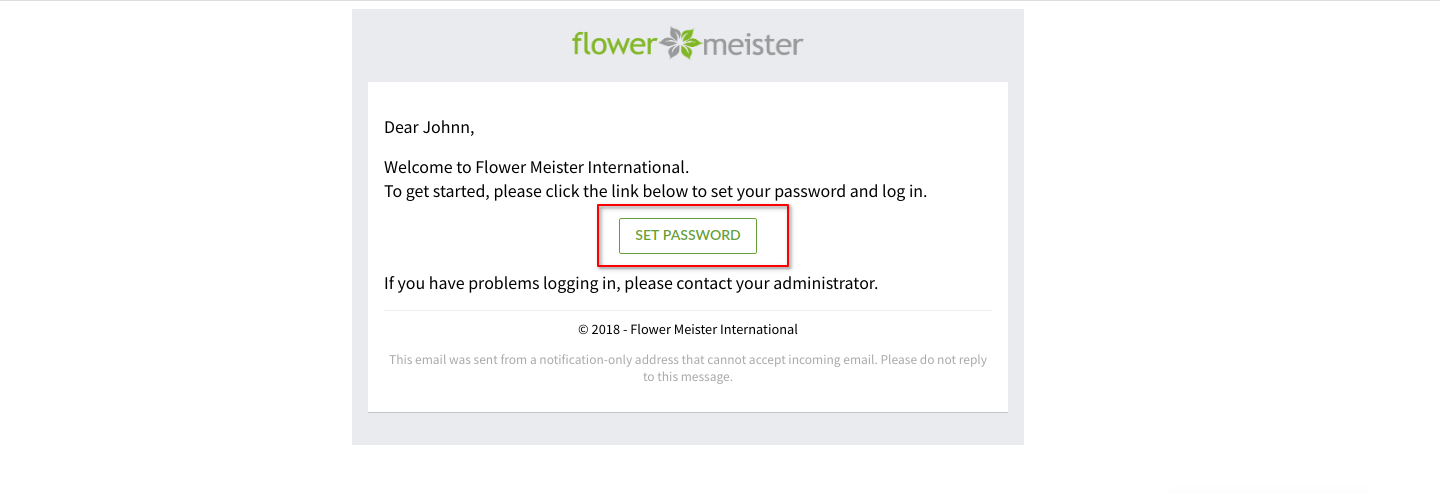
A welcome email will be sent to the address that you have provided. The new account member can now open the email and set his/her password by clicking on the Set Password button. Afterwards, he/she will be able to log into Flower Meister International™ by using the email address and password that has been set. 


Update a member’s information

Admin holders can update other members’ names, phone numbers, and their roles.

From the Members Management page, click on the member that you would like to update details for.


After updating the member’s information, click the Save button to save the changes.


Delete a member

A member’s access to the FMI account can be removed at any point in time. 

Click on the Delete button under the Edit Member page of that particular member, then click to confirm. 


The member can also be removed directly from the Members Management page.


    • Related Articles

    • Notification Management

      Notification settings can be updated on FMI under Settings > Notification Management. A.L. Subscription: for orders created by the merchant through the Availability List published to them.  Automatically subscribe to new A.L.s that you create: You ...
    • Box Type Management

      Box Type Management To add the different box types available, go to Settings page, then click on Box Type Management. Click on the “+ New Box Type” button to add a new box type. Complete the following required information: Name: The name of the box ...
    • Box Type Management

      To add the different box types available, go to Settings page, then click on Box Type Management. Click on the “+ New Box Type” button to add a new box type. Complete the following required information: Name: The name of the box type(E.g.: EB. QB, HB ...
    • Enable Growers

      Getting started To enable the Growers feature, under Settings, go to Growers Management page, then click on the Enable Growers button. Add new grower To add a new grower, in Growers Management page, click on Add Grower. On the Create New Grower page, ...
    • Disable growers

      To disable the Growers feature, from the Growers Management page, simply click on the Disable Growers button. All products and availability lists that are associated with any grower will disappear. They can be restored when you enable the Growers ...